Friday, July 23, 2010

Scrappy Quilts

I quilted the first two scrappy quilts for Julie. Scrappy quilts are so fun, because you get to see pieces from all of your old quilts brought together in one brand new one.
Red backing.
This is Julie's other scrappy quilt.
This border ties in the colors.
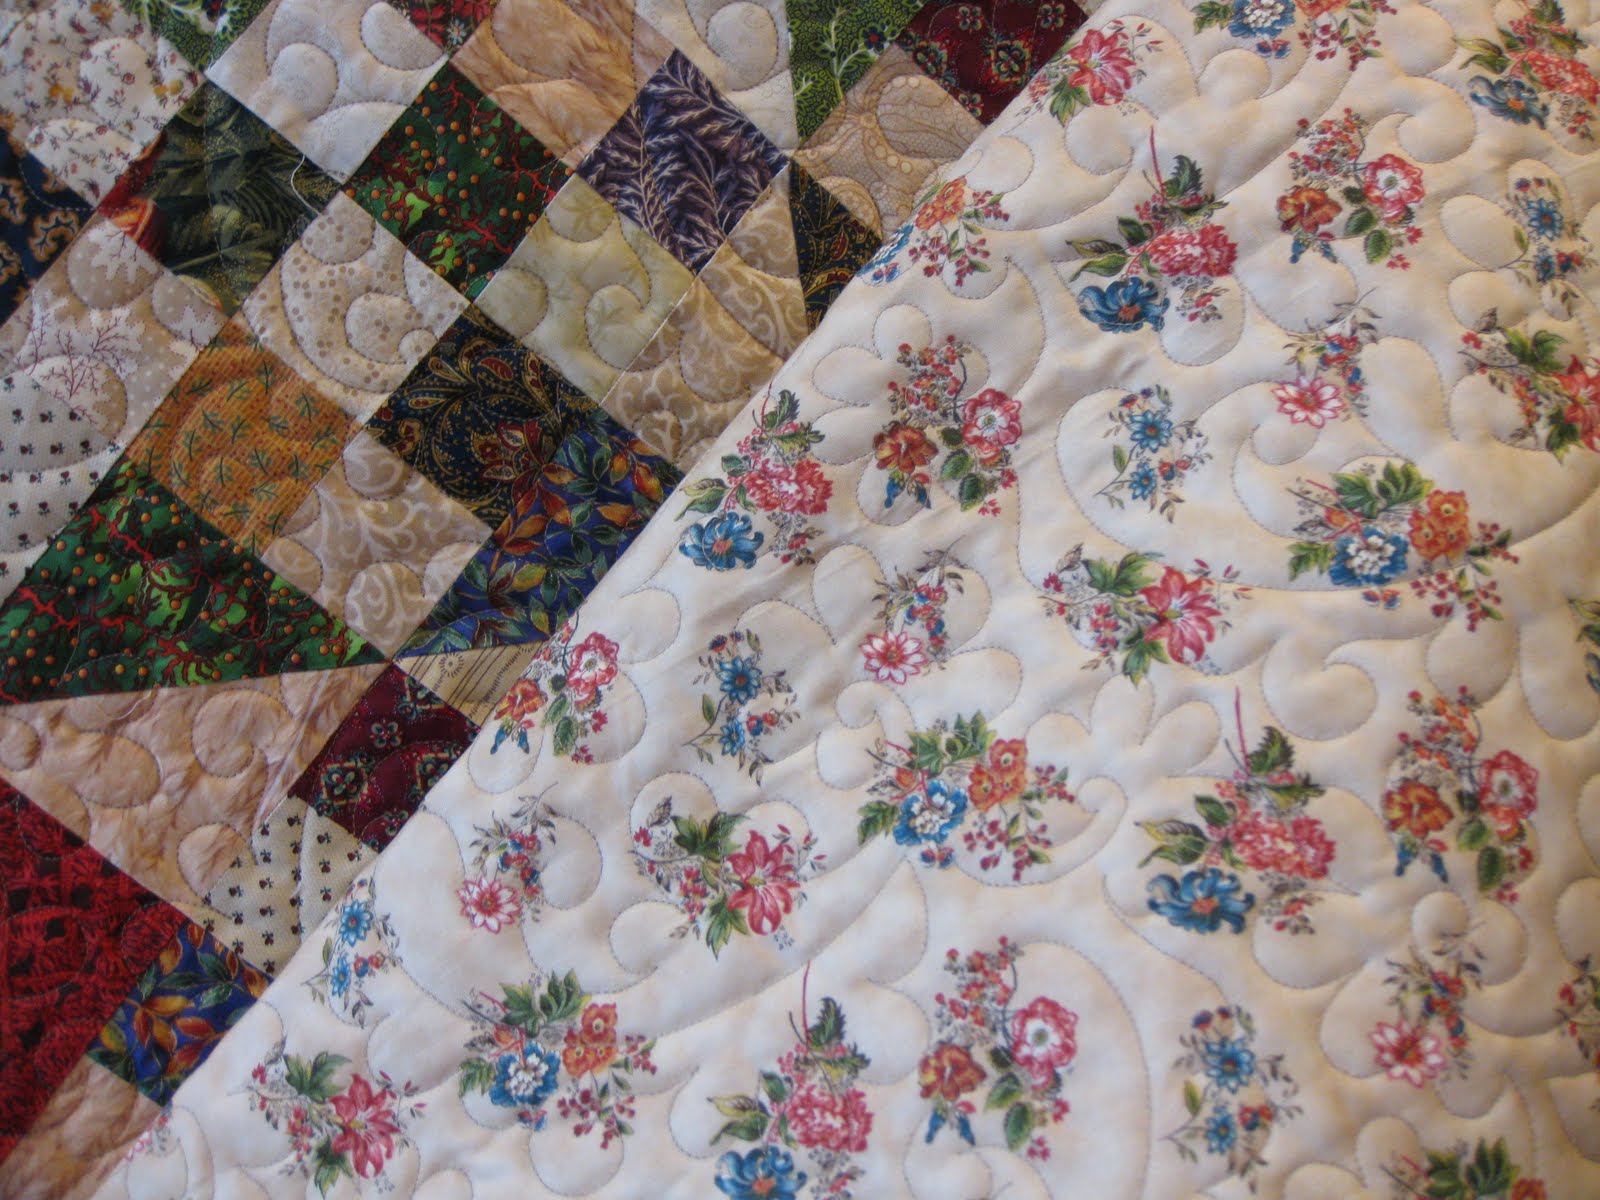
Flower backing.
Remember my last finished string quilt?
I decided to switch out that old blue quilt behind there for something new.
Thank you Zlaty for the wonderful birthday surprise. I can't wait to use the pretty bunny/flower panel and matching fabric to make a cute wall hanging.
I joined the liberated Amish group a while ago. This is my first liberated Amish quilt. I used the scraps from the waverunner quilt to make a Roman Stripe quilt.
Here are all of my blocks for it. I just have to make a border but I've gotten real lazy lately.
From going to modern looking to tradition, my taste in quilts is crazy!
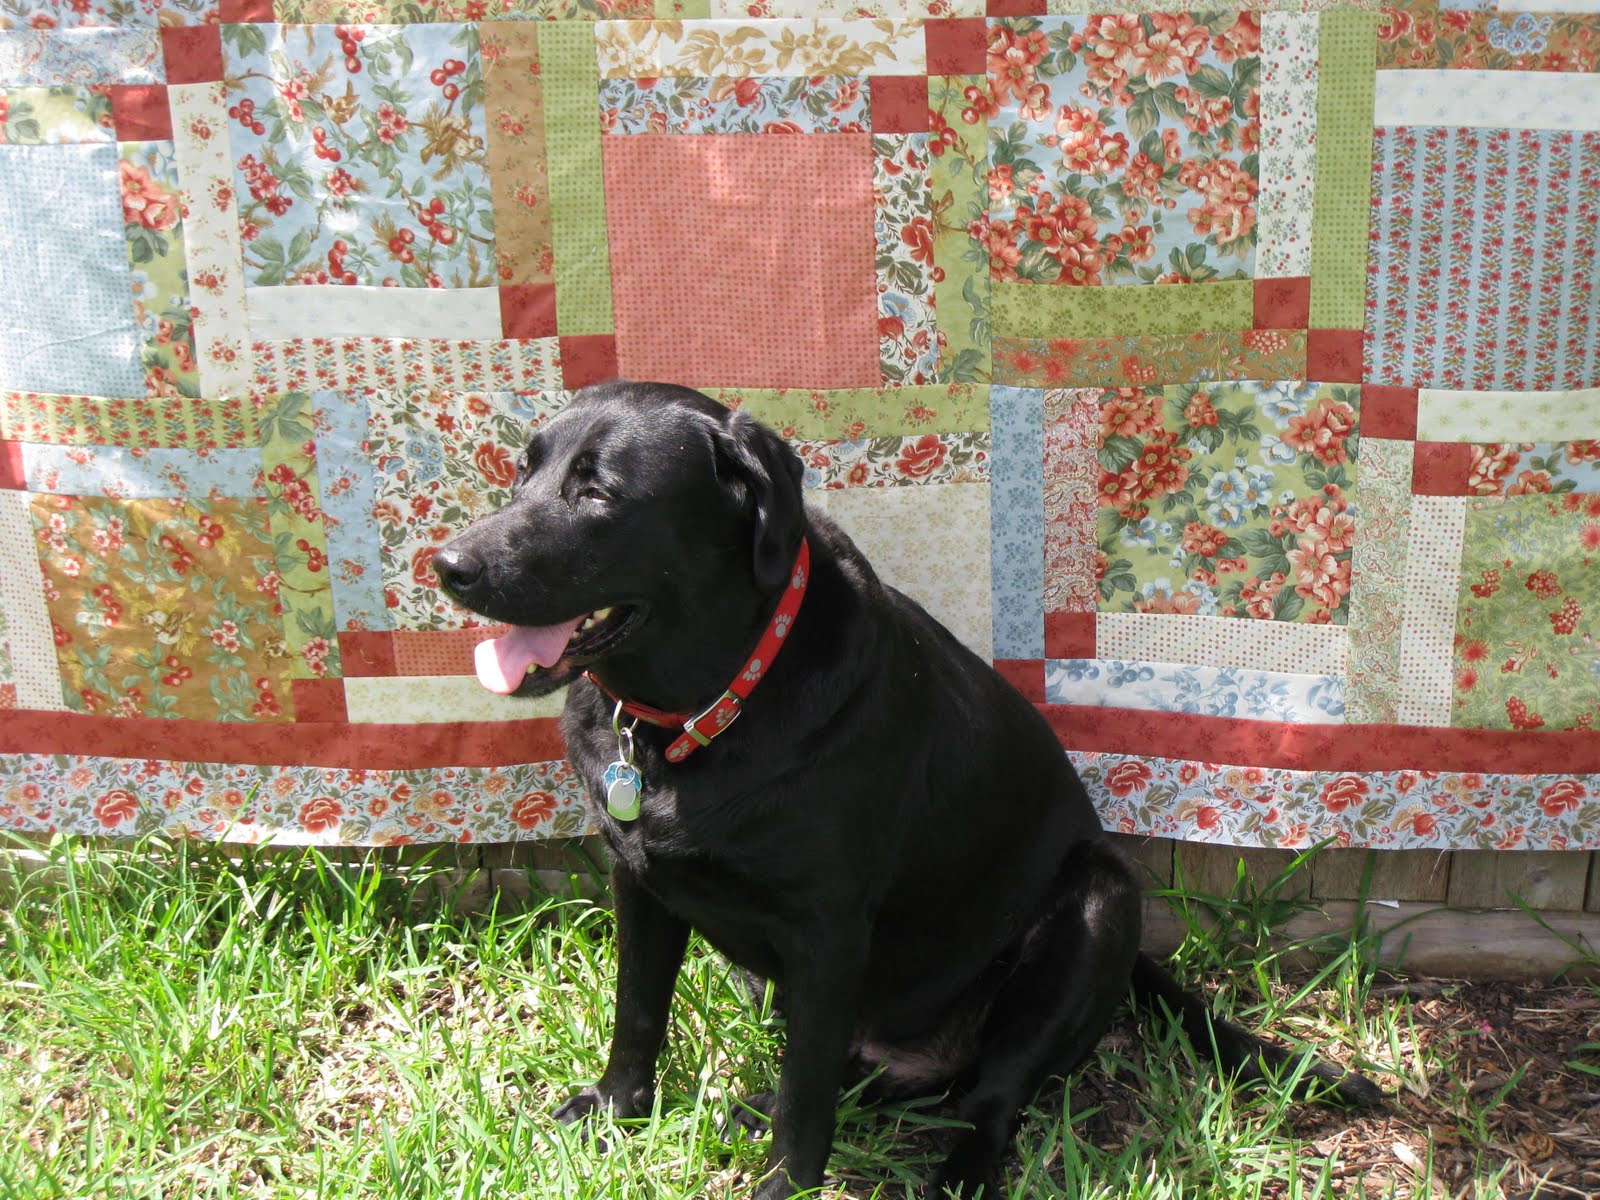
Here's my handsome little baby boy, Max, right in front of the finished top. He was only outside for three seconds, but he was already panting!
Until next time,
~Millie~ :-)

Thursday, July 15, 2010

Old Spiderweb Quilt + more

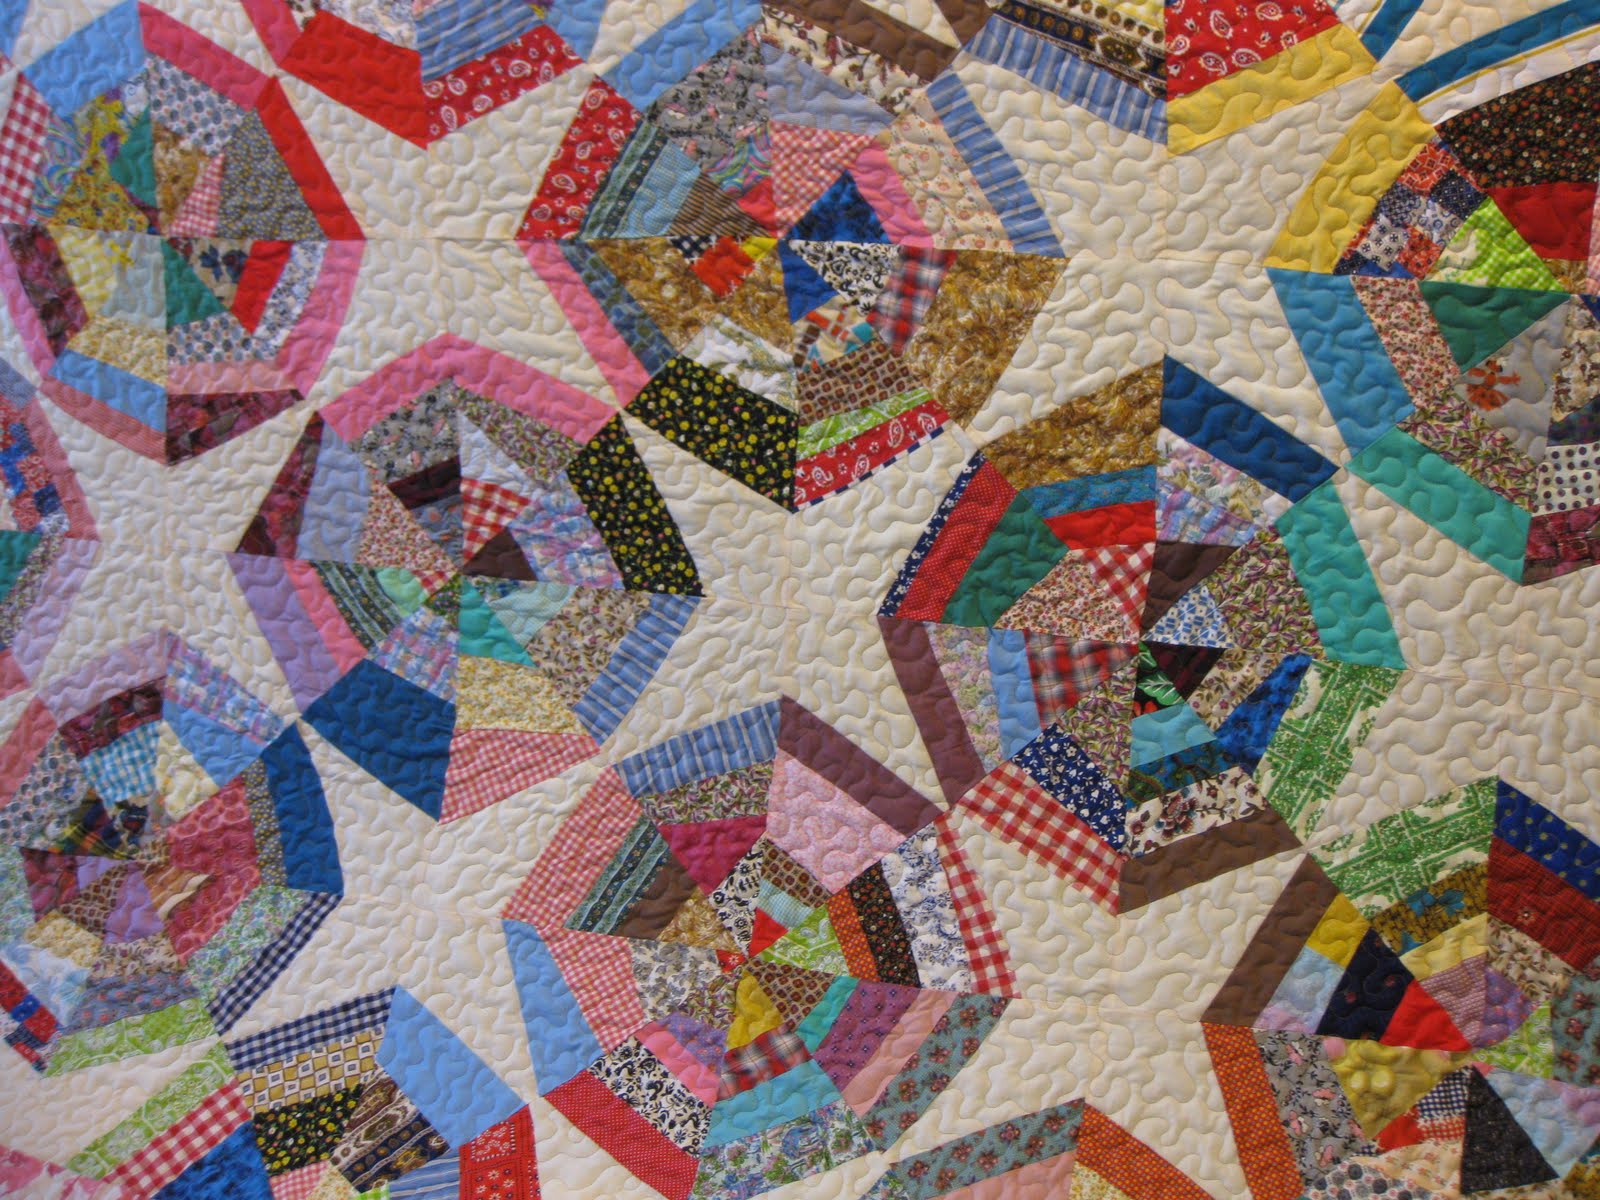
I LOVE old quilts. This Spiderweb Quilt is over at least 80 years old. That means no rotary cutters or any rulers....and a quilt top that is not flat. But I really think she could not have made a better top. To quilt most of the fullness out I used a poly batting and added more batting under the probem areas. This specific area got 3 extra pieces of batting.
This is how it looks after I stipple or meander over the extra pieces of batting. It is better to add more batting than to quilt in a pucker, just my humble opinion. I think it turned out good.


A new bright scrappy backing. Betsie will finish the binding.
This is another donation quilt I quilted. Betsie made the quilt top and will finish the quilt. The quilt will auction off in August '10 to raise funds for the Cure for Childhood Cancer Organization.
I think the "Sweetheart" panto with hearts and flowers goes perfectly with the girly colored fabric.

Pretty backing with flowers and butterflies.
This batik Block of the Month quilt was pieced by Cindy. This is the first quilt I quilted for her. I used the "Field of Flowers" pattern by Kerryn Emerson.
These blocks are so pretty and the embroidered blocks adds a lovely touch to the quilt.


The borders and corners are all different.


Pink batik backing.
The last two quilts I quilted for Sandy. This is her red Hunter Star quilted with a red variegated thread and "Curlz" panto.

Aren't the 2 red borders pretty?
Scrappy backing with a solid red quilting thread.
Sandy made the teal and brown quilt for her son and daughter in law...something they can curl up in when watching television.

She made another scrappy backing.
Happy quilting until next time!
~Millie~

Wednesday, June 16, 2010

How to prepare your t-shirts for a quilt


Thank you so much for all the wonderful comments. I can't tell you enough how much I appreciate all the lovely blog visits. So many of you asked me how I make the t-shirt quilts. I pieced and quilted this memory quilt for Jenny. This is the second one I made for her.


I made a scrappy backing and used the leftover t-shirt and clothing on the back of the quilt.


I am working on a new t-shirt quilt for Rosselle and decided to share a few pictures on how I am preparing the t-shirts to use them in a quilt. I will cut the t-shirts open and cut the blocks .5" bigger than the size I am going to square up the blocks. The size of the blocks all depend on how big the shirts are. These were cut to 14".

I will buy 10 to 15 yards of a soft fusible interfacing.


I like to press the wrong side of the t-shirt blocks with the iron on a wool setting. Next I will press a piece of fusible interfacing on the back of the t-shirt. I cut the interfacing the same size as the t-shirt block ( 14" again). Every interfacing has it own directions on how high to use the iron and for how long to press the facing down.


I will trim all the blocks down, a .5" smaller than the original block. These blocks are now all 13.5".

NOW IT IS TIME TO HAVE FUN...you can either sew the blocks together in a row in a random style setting or use sashings and corner stones. When I sew my t-shirt blocks together I lengthen the stitch length and use a .5" seam allowance. I press the seams open when I sew t-shirt to t-shirt to reduce bulky seams. When I sew t-shirt to fabric, I press the seams away from the t-shirt blocks.
Please remember, I have never took a t-shirt quilting class or purchased a book or pattern on t-shirt quilts. You might do it different than me. T-shirt quilts are fun to make and not suppose to be stressful!


I always keep a little plastic basket close by for scraps.


I quilted this t-shirt quilt for Sally. This is a random style setting and blocks are different sizes.


"Deb's Swirl" panto is one of my favorite patterns for t-shirt quilts. It is always a good idea to use a pattern for t-shirt quilts without an over stitching pattern. The t-shirts can be very stretchy.


Blue border.


Backing with sports.


Another quilt in a random style of t-shirt blocks quilted for Sheri with a panto called "Fossil".


Close up of some of the band t-shirt blocks.


Batik scrappy backing.


Another t-shirt quilt quilted for Betsy. She used a jelly roll to frame the t-shirt blocks.


The "Bubbles" panto always turn out nicely on t-shirt quilts.


Cross backing fabric.


I hope this will inspire you to make another or even your first t-shirt quilt.

Happy Quilting,
~Millie~